
Posts
Content → Posts holds news and blog posts for your client site. Each post belongs to a category and has a rich text body.
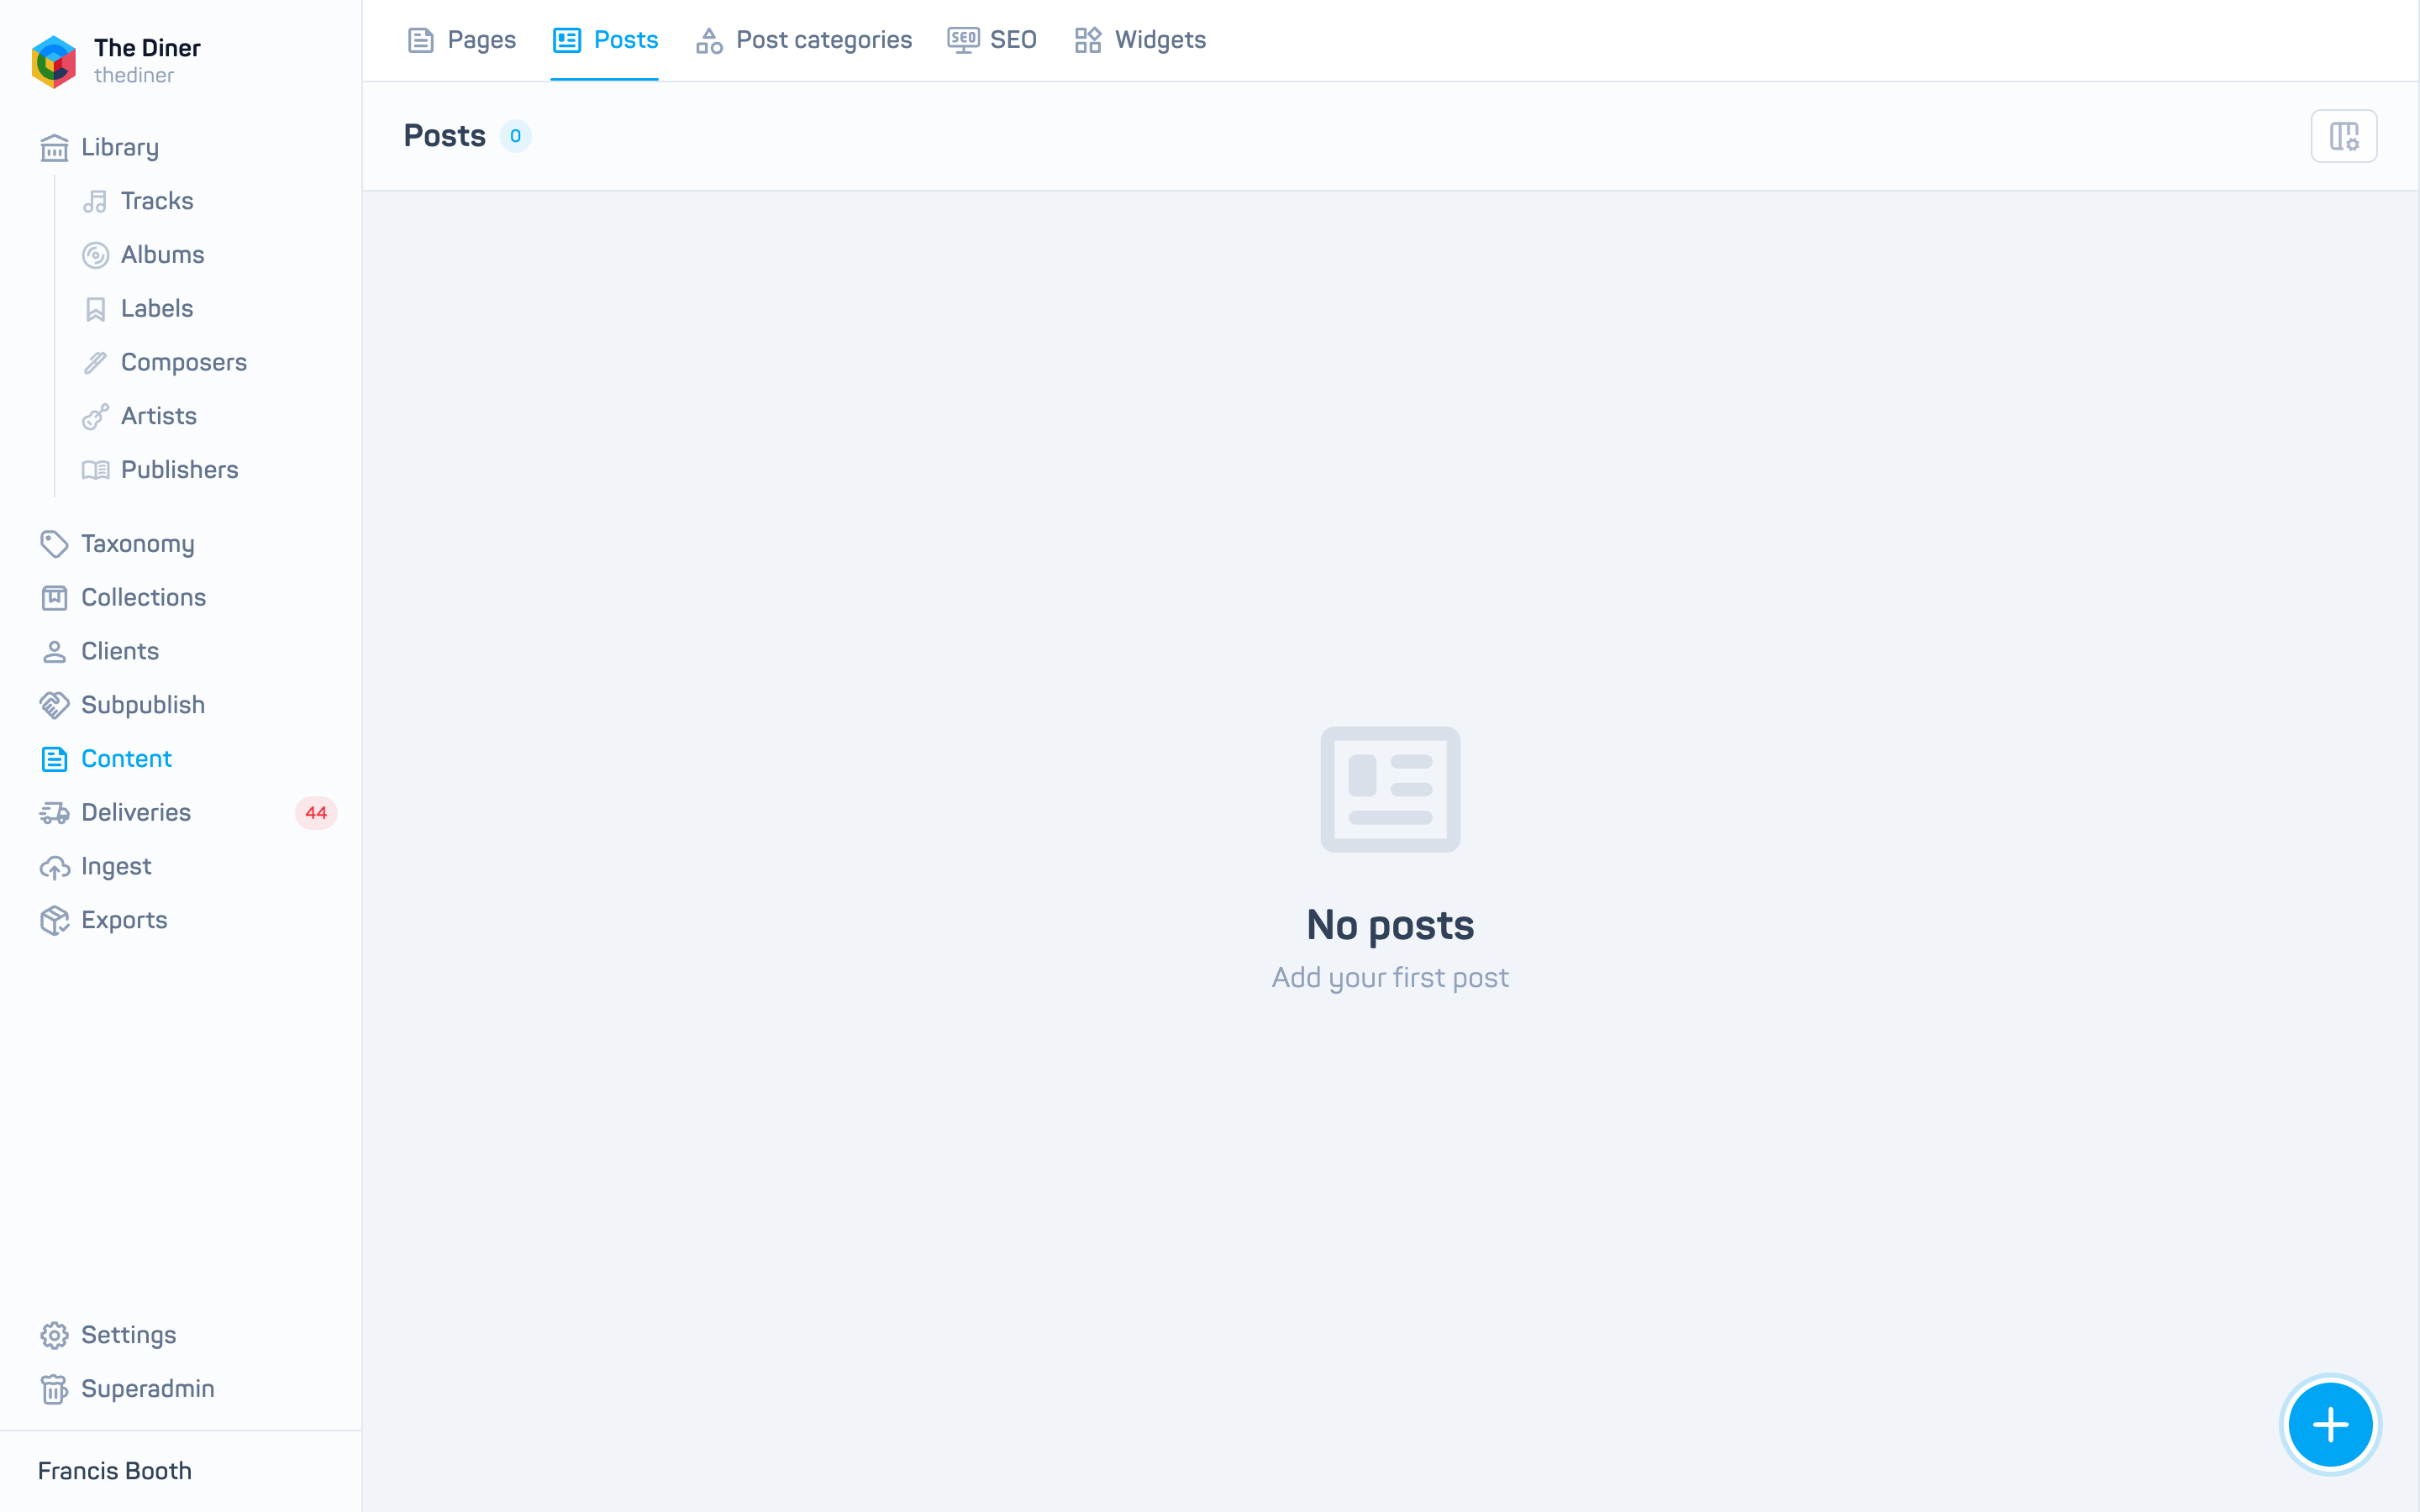
The list shows Title, Slug, Published, Redirect, the publish date and Created.
Write a post
- Click the round + button. The Create post panel opens.
- Leave Published on to make the post visible when you save, or switch it off to keep a draft.
- Set the Publish date. This is the date shown on the post and used for ordering; posts are not scheduled, so a future date does not hide the post.
- Enter a Title and click Generate to create the Slug, or type your own.
- Choose the Author (defaults to you) and a Category. Both are required.
- Optionally add a Featured image URL and SEO title, description and keywords.
- In Post content, choose the Language and write in the editor. The toolbar offers bold, italic, strikethrough, inline code, headings, bullet and numbered lists, code blocks, quotes, horizontal rules and undo/redo.
- Click Create.
Images in the body
The editor does not upload images. Host images elsewhere and paste their URL, or use the Featured image field.
Redirect posts
Switch Redirect on and enter a URL to make the post link straight to another page, for example a press article. Frame redirect shows the target inside your site.